how to make strawberry jam
This website may earn commissions from purchases made through links in this post.
Here in Queensland, our strawberry season has just come to an end, but in other parts of the country, the season is just beginning.
Whether you grow your own, pick your own from a local grower, or find strawberries at a great price, turning the glut of fresh, in-season strawberries into jam is a great way to enjoy them all year round.
There are a lot of strawberry farms in our area. We take the kids strawberry picking a lot during the season. It makes for a great morning out.
The strawberries I made into jam however, I picked up at the Big Pineapple Grower’s Market at $5 for a 2kg box. That means each 500g jar of jam cost less than $2 to make.
I made this jam while mum was visiting – it’s so much easier to do this kind of thing when you have a live-in baby sitter!
Which made me wonder just how much time and effort is needed to be more self-sufficient in food. I had to run some numbers.
Working backwards, I thought about how much jam we eat over the course of a year. Not much really. A 500g jar lasts us around 2 months. That’s around 6 jars of jam a year. Or 3 kilos.
If I made 1-kilo batches of jam I would only need to make 3 batches a year. 1 batch each season except for winter (mmm, maybe some lemon butter then instead).
Or about 3 jam-making hours a year.
That seems doable for us.
To make your own strawberry jam…
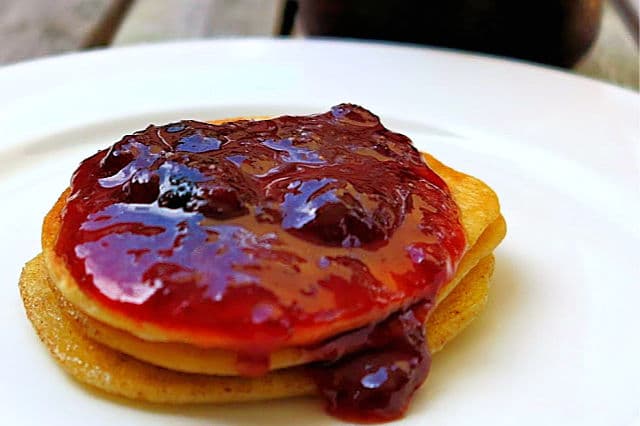
Homemade Strawberry Jam
What you will need:
- 1kg strawberries
- 700g sugar (I used raw sugar)
- Juice of 1 lemon (keep the seeds)
- Large saucepan
- Sterilised jars
- Muslin square
- A small plate placed in the freezer
making homemade strawberry jam
- First, sterilise your jars. There are lots of ways to sterilise jars, this is how I do it: Preheat oven to around 130°C. Wash jars and lids in HOT soapy water and rinse in HOT water. Place jars in a hot oven for at least 15 minutes or until completely dry. Place the lids in boiling water.
- Hull the strawberries and cut large strawberries into bite-size pieces.
- Tie the lemon seeds into a small muslin square or piece of cheesecloth. Lemon seeds are a source of natural pectin and help the jam set, strawberries being low in pectin.
- Place strawberries, sugar, lemon juice and tied lemon seeds into a large saucepan. The lemon juice adds pectin and balances the sweetness of the strawberries. Bring the strawberry mixture to the boil and then simmer gently for about 10 minutes, stirring to keep it from burning on the bottom.
- You can either spoon the scum off the top as it cooks, or wait until the end to do it.
- After about 10 minutes or as the jam starts to thicken (the actual time will depend on the fruit and how low you set your stove), spoon a small amount (10c piece size) of jam onto the cold plate that you’ve kept in the freezer. This is to test whether the jam has set. Let cool for 1 minute. If it appears to have a jam-like consistency, then it’s set. You can also push a teaspoon through it to see if it has formed a wrinkly skin. If it has, it has set. It took about 30 minutes of cooking before my jam reached the set point.
- Spoon off scum and fish out your baggie of lemon seeds, and then spoon the hot jam into hot jars, right to the top of the jar, and screw lid on tight as you can. You will need to use a tea towel or oven mitt to do this.
- Process jars in a water bath. You can find instructions on how to do that here.
- Wipe jars clean of any spills and label. Store in a cool, dry place for up to one year.
Food safety recommends all home preserves be processed correctly. For high acid foods like jam, you can process them in a water bath. Find instructions on how to do that here. For processing times and more information, check out the USDA website.
Looking for more jam recipes? Check out:
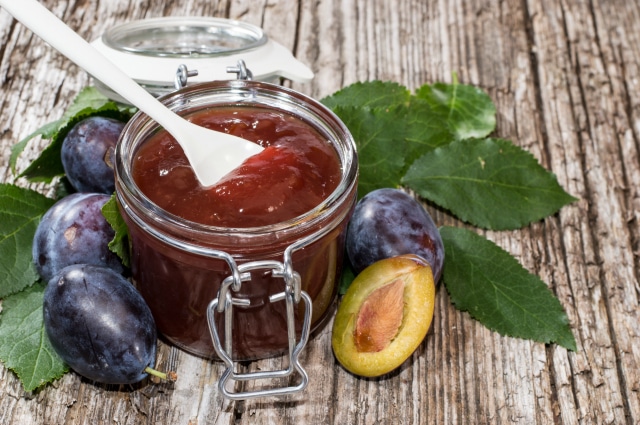
- Plum Jam (this recipe won an award for one reader!)
- Frozen Berry Jam
- Easy Onion Jam