
How to Cut Your Own Split Ends and Save on Hairdressing Costs
This website may earn commissions from purchases made through links in this post.
Save money on hairdressing costs by giving yourself a hair cut. This article explains how to cut your own split ends to keep your hair looking healthy.
This is a guest contribution from Mrs Winters who owns and writes for Wealthy Winters.
I used to hate going to the hairdresser.
I’d pay an exorbitant amount of money to have someone massage my scalp and cut my hair. Then The next day my hair looked just as flat as ever.
When I was about 19, I started cutting and dyeing my own hair. It was quick, easy, and I got what I wanted without the huge price tag.
The best way to start cutting your own hair is to start with trimming the split ends.
You use the same technique as for cutting, but only take off a centimetre or two from the ends. The more casual your hairstyle, the easier it will be to cut – and the more you cut it yourself, the more skilled you will become.
What You Need to Cut Your Own Hair at Home
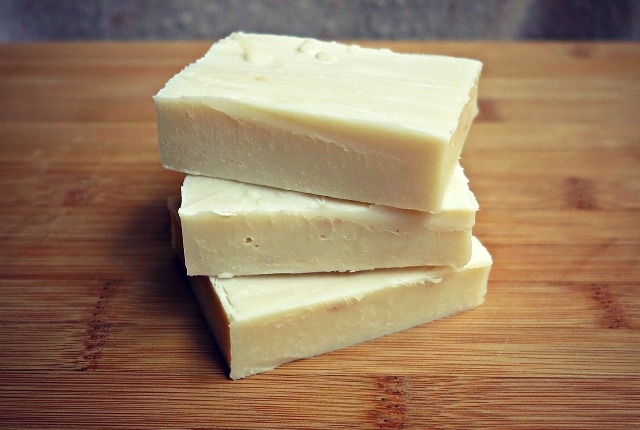
To start with, you’ll need a quality pair of hair scissors.
Don’t get the cheapest pair – sharp shears will make it quicker and easier to cut and cause fewer split ends.
You will also need a good comb.
It’s easiest to cut your hair while you’re in a towel or your underwear to keep things simple. You’ll also need a big mirror in a brightly lit room. If you can set another mirror behind you, that’s even better, but not essential.
I cut my hair and let it fall onto the floor before sweeping it all up at the end, rather than aiming for the sink.
Finally, pick a chunk of time you won’t be interrupted so you can focus on some me-time.
How to Cut Your Own Split Ends
Here are the steps to trimming your own hair at home. Read through them first and check out the pictures before having a go yourself.
Before You Begin Trimming Your Hair
Before you begin, choose a hairstyle that you like and that will suit you and your hair itself.
For years I asked for haircuts that were bouncy and voluminous, and it took me over a decade to realise that I have dead straight, flat hair.
Even after back-combing and liberal amounts of hairspray, it goes flat within an hour, so now I cut my hair in a style I that works for my straight hair.
Trimming Your Hair Step One – Finding Your Natural Part
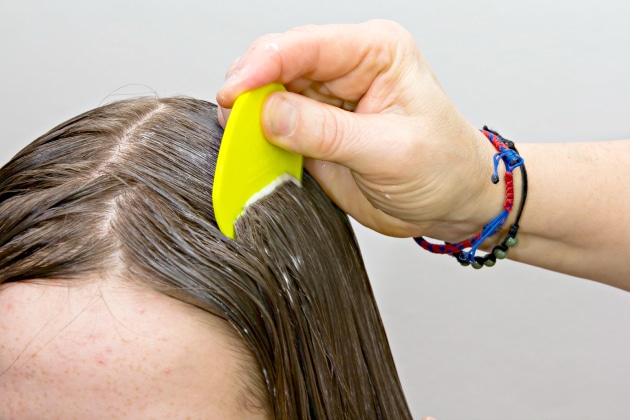
After washing your hair, comb it out as straight as you can.
Try to keep your head in a neutral position (eyes forward, how you’d naturally hold your head) so you can see how your hair falls.
Split it in half down the back of your head and pull it either side of your shoulders, into low pigtails. Alternatively, you can comb it straight back and then shake your hair gently to find it’s natural part. This ensures your hair is cut even on either side of your face.
The divide doesn’t have to be perfectly straight unless you’re cutting a severe and dead-straight style. For most “natural” hairstyles, a rough divide is fine.
Trimming Your Hair Step Two – Sectioning Your Hair
If you have a lot of hair or are cutting in layers, you will need to divide the top half of your hair. Clip the top in two sections either side of your part, so you can work on the bottom half.
I work back-to-front, as it’s less tiring and gives me a good visual guideline as to how long my hair will look.
When you’re parting the bottom half of hair from the top, the line doesn’t have to be perfect unless you’ve got a very stark cut.

Step Three – Start Trimming
The first snip is always the scariest, but it’s also going to be your benchmark for the length of your hair.
If you’re feeling a little nervous, cut less than you intend. You might need to go back and cut more later, but it’s better than chopping off too much.
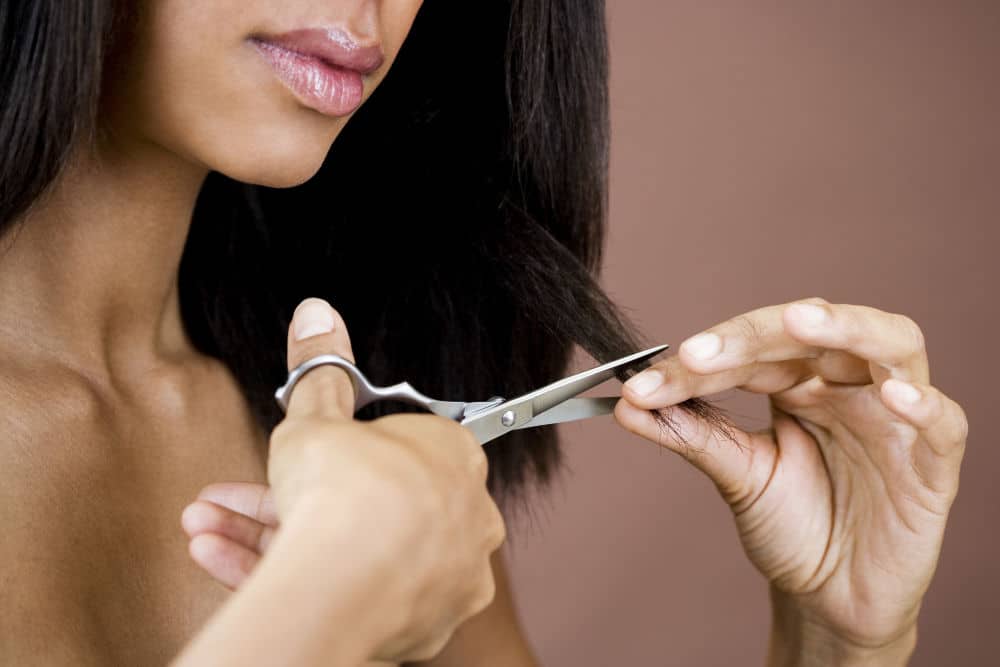
Grab the farthest back section of your hair on one side, roughly 2-3cm wide. Comb it out straight and, using your non-dominant hand, hold it taut with a scissor-hold. Slide your fingers down to the point you want to cut at.

If you want to have a traditional blunt cut, cut straight across the bottom (pictured above).
For a more natural look, cut at a forty-five-degree angle with several snips to produce a mini-zig-zag. This avoids a dead-straight line for the hair and gives it a little more body.

Trimming Your Hair Step Four
Once you’ve made the first cut, gather roughly half of the initial section of hair and another section of the same size.
Comb it straight and pull it taut downwards while looking forward into the mirror – you should be replicating where the hair will hang naturally.
Repeat the same cutting technique, trimming the hair to the same length as the initial section.
You then repeat this as you move slowly across towards your face.
Holding the hair taut to the side will make your hair slightly straighter, but if you’re using the jagged-edge technique, you can touch this up later.
It’s important after every cut to let the newly cut hair hang in place, comb it out and check that you’re not slowly making each section shorter or longer. With all this combing, your hair may start to dry, so be sure to splash or spray some water on it and comb it through as needed.
Step Five – Checking the Cut
Slowly work from the back section of hair to the front on both sides. This is a good time to check that your hair is even across the back – get someone to help you, or use a self-timed camera if need be.
Once you’ve done the bottom layer of hair, and checked that it’s all even, you can unclip the top section of your hair and let it down.
If your hair is very thick, you may need to again divide that top section in half, letting the bottom fall down into the hair you’ve already cut. Go with what you feel comfortable with.
Step Six – Trimming the Top Section
Repeat step 4, working from the back to the front, except you’ll be matching the hair to the bottom layer that you’ve already cut.
If you want layers you can do them now, but I personally like to cut all my hair first, and then add layers.
Repeat the back-to-front, bottom-to-top technique, frequently checking your hair from different angles, until it’s all one length. Check that you’re happy with it, and don’t want it shorter.
If you want a single-length cut, then skip to step 8.
If you want to create layers, then go on to …
Step Seven – Creating Layers
Layers can be done in different ways – around your face, throughout your hair, or piecemeal. I choose sections at random to cut as I like a slightly messy look and it gives my hair a little more body, but this will depend on the style you want.
Regardless of where you want layers, the technique is the same – choose a vertical section of hair (about 3cm high and half a centimetre wide), like this:

Comb it straight out from your head and hold it at a forty-five-degree angle away from your head. With your fingers holding it perpendicular (as pictured below), snip across the end. If you like a rougher look, use the jagged technique above.

If you have quite long hair, you might need to use your other hand to “reel” your hair closer to as your stretch to the end. I keep saying it, but it doesn’t have to be perfect.
If you want lots of layers, you can do this all over your head (don’t forget the back!). If you want it just at the front, take the front sections of hair.
There are so many variations to try, so play around with it. Unless you have a dead-straight hairstyle, little missteps won’t matter, and you can add to them later for a rougher look.
Repeat the layers wherever you want them – if you want dramatic layers, you can hold your fingers closer to parallel, and if you want a softer look, hold your fingers closer to horizontal.
Check out these related articles:
Step Eight – Wash Off the Little Hairs
Once all your layers are done, comb out your hair to check that everything is the length you want. Make sure you check that it’s symmetrical, too (unless you’ve chosen an asymmetrical cut).
Then, jump back in the shower! You don’t need to re-wash your hair, but it can help get all the little snips of hair out of your hair and off your skin.
Jump out, blow-dry your hair (or just dry it normally) and check that everything sits how you want.
You can add in a few more layers, trim outlying hairs or snip strays, but if you really want to take off more length or change it more, you’ll have to get your hair wet again.
Trimming Your Hair Step Nine
Enjoy!
You just got a haircut for the cost of shears and a comb. Each time you cut your hair, you’re reducing the per-use cost of them!
If your hair doesn’t look quite how you wanted – don’t fret, it will grow back! Sometimes, if your cut isn’t as you wanted, you can go back and cut it again to improve it.
If you really like your cut, then make sure to trim it every month or two to keep the shape you worked so hard for. If you get bored with it, you can change it as often as you like!
While I loved having long hair, and it would look nice if I spent an hour styling it, I never do unless it’s a formal event, and even then it’s a hassle.
Having a short, works-every-day style is best for me, and I have to work with what I have, not what I wish I had.
In the end, cutting your own hair is a great skill to have, and it will quickly extend to cutting the hair of others’ (I’ve cut my mum, step-dad, husband and step-daughters’ hair!).
Enjoy cutting your own hair, and you’ll save thousands of dollars over your lifetime (even more if you have kids)!

DO YOU CUT YOUR OWN HAIR? WHAT ARE YOUR TIPS AND TRICKS?
Mrs Winter owns and writes for Wealthy Winters, an Australian personal finance website that makes personal finance interesting and easy for anyone who wants to be financially independent and retire early.


I’ve been trimming my own hair and cutting my husbands for about 25 years.
I have straight hair whether it is long or short (depending on my mood XXshort at moment but sick of it already and regrowing). I bought a full hair cutting /grooming kit from something like the Reject shop years ago. Electric shears (with 4 cutting combs 0-4) scissors ,comb ,tail comb and ear/nosehair gizmo all for about $15.00 . I have never worked out how much this has saved us over the years.
My hair is easy to trim when long , hubbys took longer to master .My Father never went to the Barber mum always cut his hair.
The electric shear set is so worth the outlay – hubby cuts his own hair (what’s left he he) and has since I’ve known him. So much money saved!
Do you cut your own hair when it’s short. I’ve been inspired to go back to cutting my hair after this post – I used to always cut my own as a teenager.
being your hubby has experience cutting hair, why not ask him to be your stylist? Need to get good shears, taking to clippers to your locks would leave it far too short. Check out some YouTube videos as well. My guy cuts mine every other month. Great results every time and it is free :)
Great idea. Thanks Cheryl.
Thank you for these tips, I will use them today – I have to cut my wife’s split ends :-)