DIY Oven Mitt {tutorial}
This website may earn commissions from purchases made through links in this post.
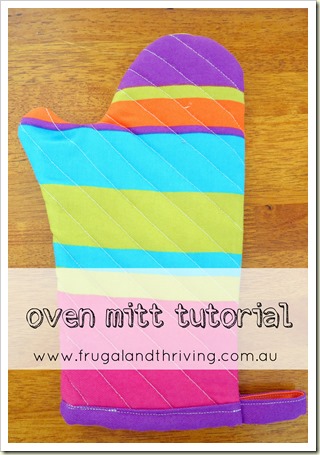
This oven mitt uses Insul-brite (no affiliation with the brand) – a wadding specially designed to be heat and cold resistant. I also added extra wadding to my oven mitt, just to be on the well-protected side.
*Updated to say that I bought mine from Spotlight.
I’ve made cosies for stainless steel water bottles from this wadding before – the cosies reduce condensation in your bag and keep your water cold for longer. I also have my eye on making this casserole dish carrier with it.
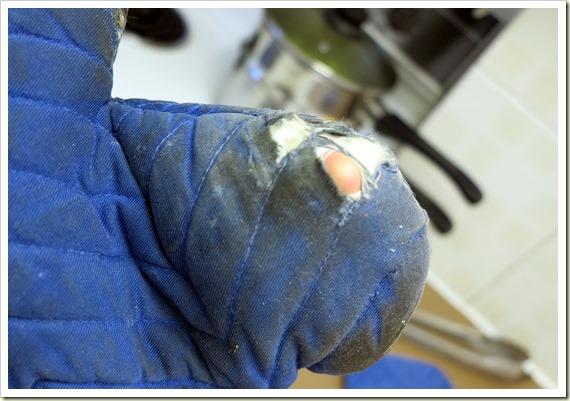
This project has been on the to-do list for quite some time. My old oven mitts (pictured below) are over 10 years old and becoming more and more ineffective each passing day.
While it’s pretty cheap to buy oven mitts at the store, it’s free if you use up scraps from your stash, which I did for this project.
These mitts are quick and easy to make, so if you’re looking for gift ideas, you can whip up a few to put aside for gifts.
Making an oven mitt
WHAT YOU WILL NEED:
- Medium or light weight cotton fabric for outer, lining and binding
- Insul-brite wadding
- Quilters wadding (optional) – cotton or wool is best.
- Thread, sewing notions etc.
- Pattern
CUT:
- 2x 32cm x 24cm piece rectangles from outer fabric, lining, Insul-brite, and wadding if using.
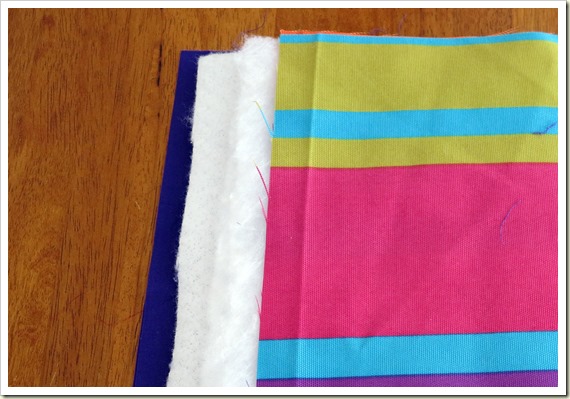
INSTRUCTIONS:
1. Make two sandwiches of lining, wadding if using, Insul-brite and outer fabric in that order, making sure the shiny side of the Insul-brite is facing outwards, towards the outer fabric.
2. Pin or tack the layers of each sandwich together.
3. Using a ruler and tailors chalk or a pencil (I used one of the kid’s white pencils), draw your quilting pattern onto the lining. I did 2cm wide diagonal lines.
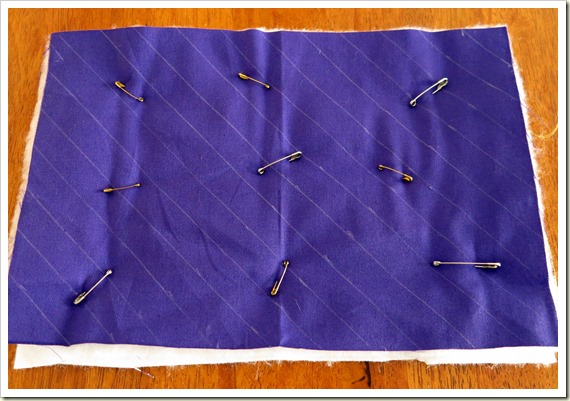
4. Quilt the lines. If you have one, a walking foot will make this job a lot easier and prevent puckers.
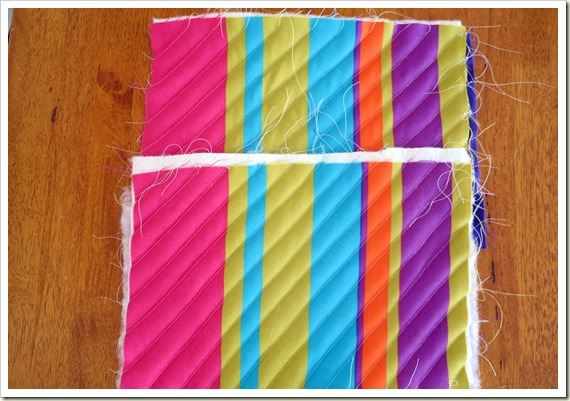
5. Once you have quilted each sandwich, draw around the pattern on each and cut it out. Make sure your pattern is reversed on one sandwich so that the pieces go together the right way.
6. Zig zag or overlock the edges of each cut piece to neaten them up and prevent fraying.
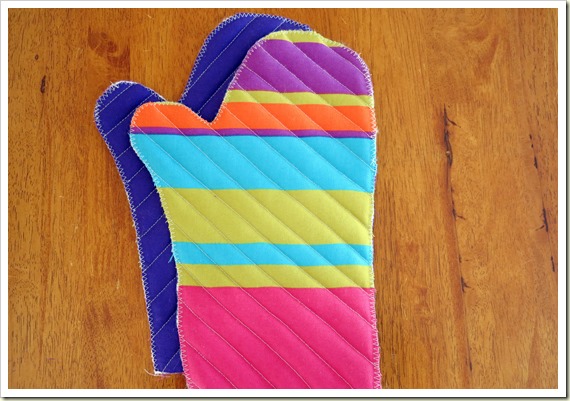
7. Place the sides together, lining side facing out, and using a 1/4 inch seam, sew a few centimetres up one side of the oven mitt, joining the pieces. By only sewing a little way, we can flatten the pieces out and attach the binding on the flat, which will be much easier than attaching it once the oven mitt is completely sewn.
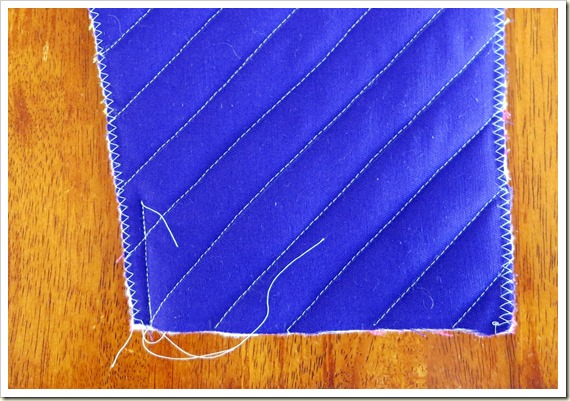
8. From the leftover fabric, make some 1/2 inch or so bias binding. As I was using scraps, I didn’t have enough to cut the fabric on the bias (diagonal), so I cut it straight. This makes your binding less ‘stretchy’ but for this project, that’s ok. See this great tutorial for how to make bias binding.
9. Flatten your oven mitt out, pressing the seam open (I pressed mine to one side, it would have been much better to press it open) and pin your binding along the bottom raw edge of your oven mitt. Stitch through all layers, along the open edges of the binding to attach. Zig zag the raw side edges of the binding.
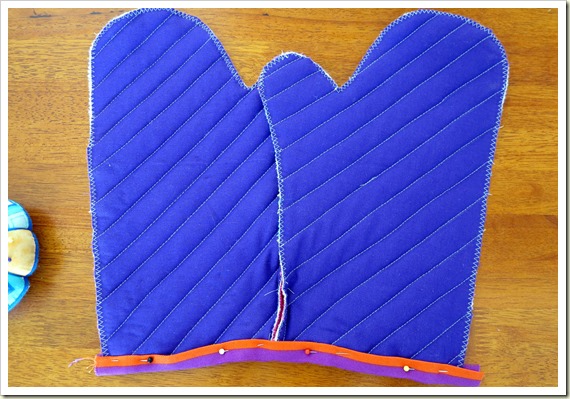
10. Using a little leftover binding, stitch the leftover binding closed and turn it over to make a loop. Attach it to the oven mitt as pictured.
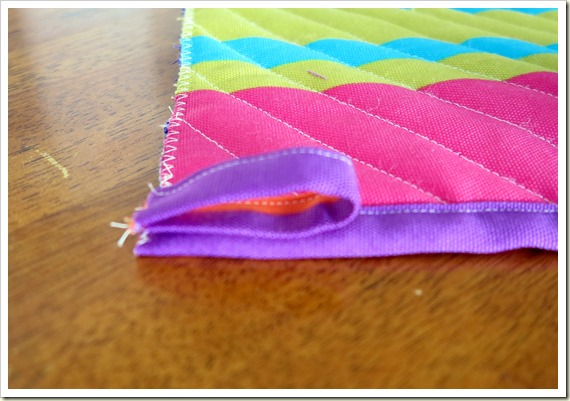
11. Align the two pieces together again inside out, and using a 1/4 inch seam, stich around the oven mitt. Do a couple of snips in the seam allowance in and around the curves.
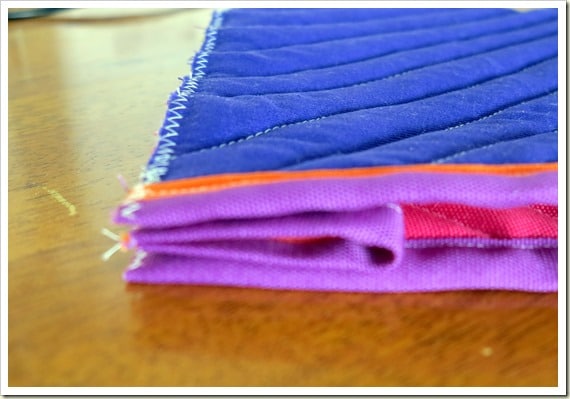
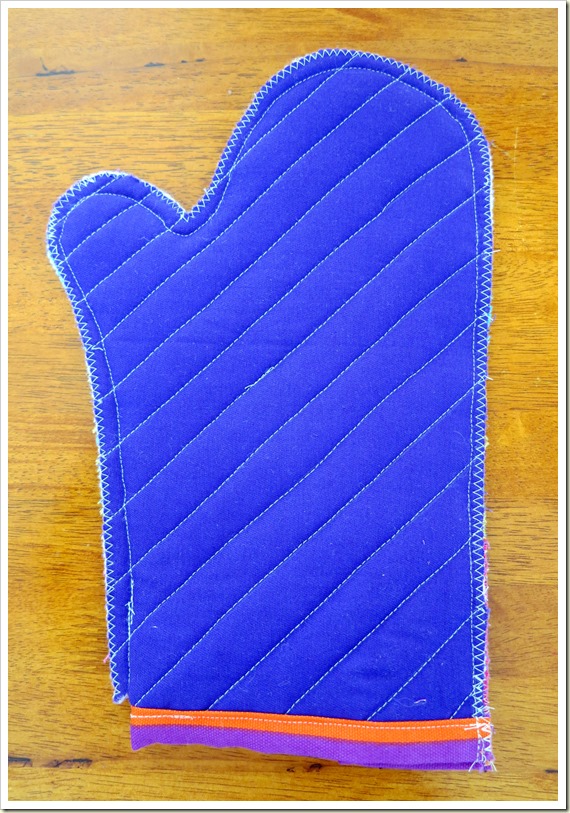
(I trimmed the seam – it would have been better if I had pressed it open when I attached the binding.)
11. Turn the oven mitt right side out and using a chop stick or similar, gently push the thumb out and push the curves.
Oven mitt complete.
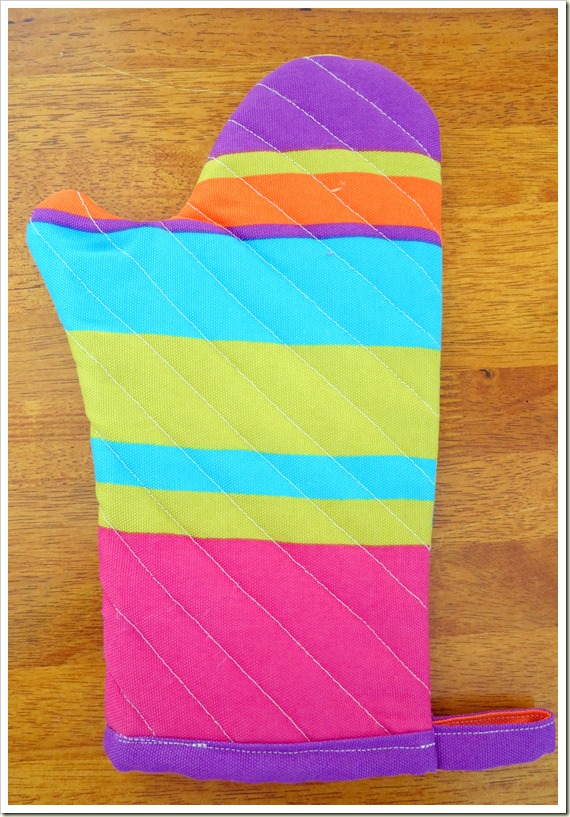
Make a matching pair or use the same material and method to make matching square pot holders.

![How to Sew a DIY Fabric Advent Calendar [Step-By-Step Tutorial]](https://www.frugalandthriving.com.au/wp-content/uploads/2014/11/diy-fabric-advent-calendar-2-768x576.jpg)

Thanks Melissa for the link . I too need a casserole transporter , a dfferent shape but this gives me the way to go. Where did you get the wadding Spotlight or lincraft or somewhere else? Is it common?I bought a book on simple storage bags(great for using up scraps of fabrick) with a padded water bottle carrier but they didn’t do anything larger.Living in the Snowy Mountains and going to Pot Luck type Suppers needs some organising to get the food there hot. A short cut is- if your pot fits- a freezer bag (bought from a supermarket chain), with a towel inside.You can zip it up and the handles are reasonably strong.
Hi Eileen,
Yep, I bought mine from spotllight. I’m guessing Lincraft will have it too.
I too have used the supermarket freezer bag and towel for transporting casserole dishes :). It works perfectly.