
Tutorial: Making Hand Embroidered Placemats
This website may earn commissions from purchases made through links in this post.
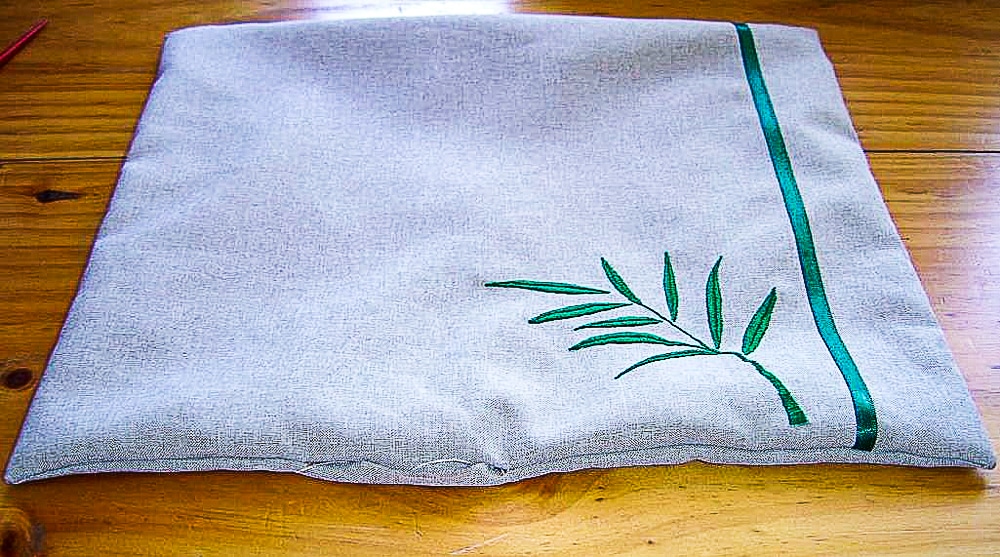
Here’s a tutorial to make your own placemats with an easy hand-embroidered design. Handmade placemats make great gifts.
Handmade placemats are both stylish and practical.
They keep your table from being damaged, and they are easy to clean – just throw them in the wash.
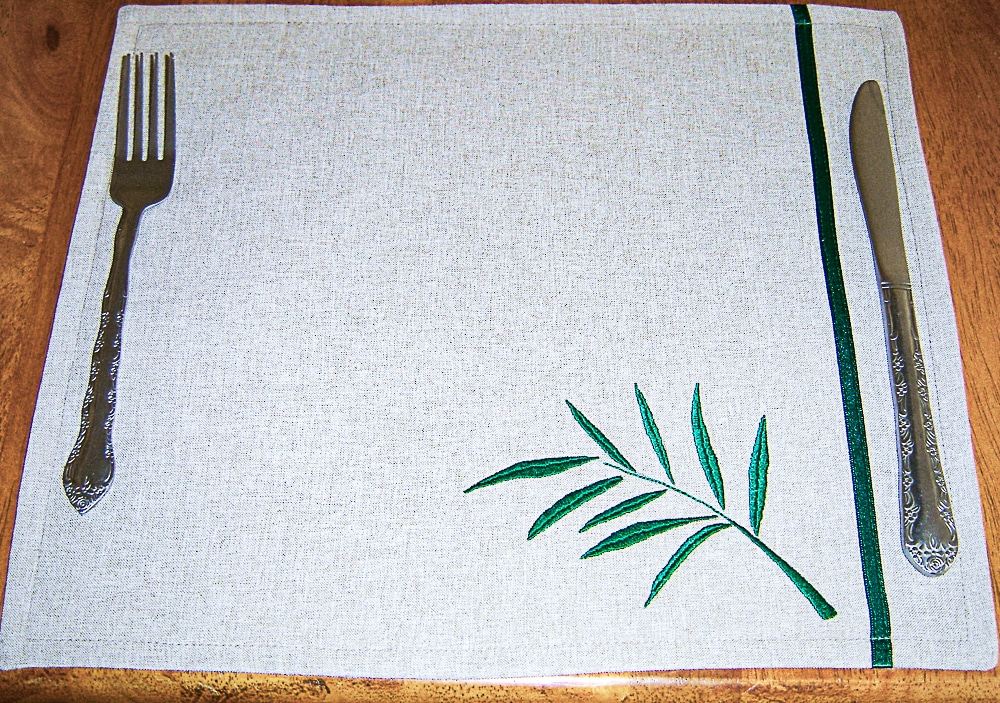
They also make great gifts. I made the ones above as a gift for my mum.
(2020 update: 10 years on and mum is still using them.)
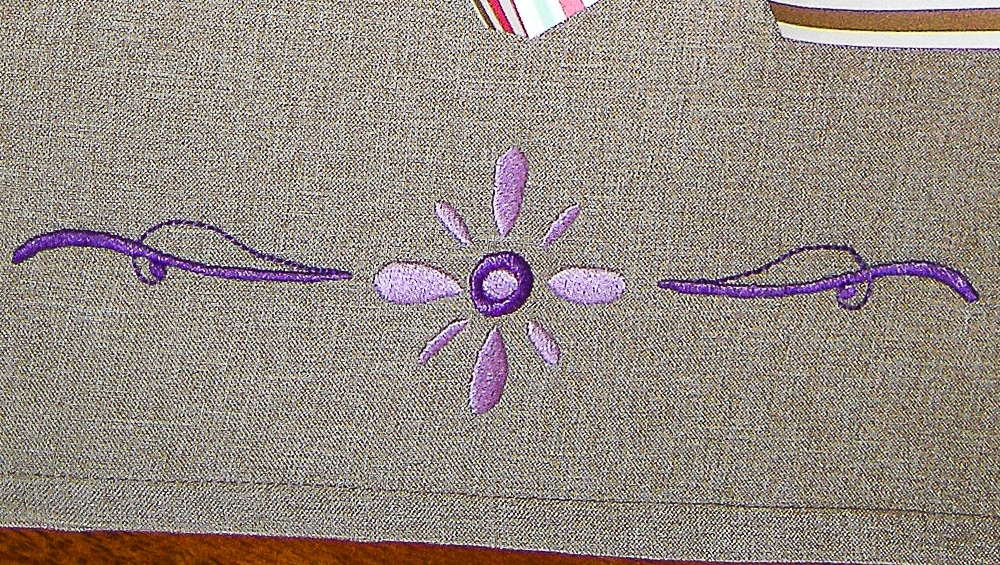
The embroidery technique used for these placemats is satin stitch (link to how-to video). This is a simple embroidery stitch that looks beautiful.
Before making these I had never done any embroidery apart from a little blanket stitch. So if you’re new to embroidery these are a very doable project.
Handmade Placemats Without the Embroidery
You can use the tutorial below to make placemats without the ribbon and embroidery if you prefer.
Just skip those steps and continue on with sewing the layers together.
If you choose not to embroider then you can use patterned or printed fabric if you choose.
Creating Your Own Embroidery Design
For my placemats, I used a simple leaf design using the free graphics program GIMP.
If you like the leaf design, you can download the design here and use it for personal use.
If you would like to have a go at creating your own embroidery design, check out the tutorial on how to use GIMP to do it.
Here are the instructions to make your own placemats with or without the hand embroidery.
How to Make Hand Embroidered Placemats

Instructions on how to make your own fabric placemats with a hand-embroidered design. These make great gifts. If you choose not to do the embroidery, these take about an hour to make.
Materials
- approximately 1 1/2 metres (1.6 yards) of cotton fabric – prewashed and ironed
- approximately 1 metre (1.1 yards) of interfacing
- a roll of ribbon (or 2m / 80’’) (optional)
- embroidery floss to match the ribbon (optional)
- matching sewing thread
Tools
- Sewing machine or needle for hand sewing
- Pins
- Ruler or tape measure
- Awl, chopstick or pencil to turn out corners
Instructions
Cutting Guide
- Cut 12 pieces of the cotton fabric 30 x 35cm (12’’ x 14’’)
- Cut 6 pieces of interfacing 30 x 35 cm (12’’ x 14’’)
- Cut 6 pieces of ribbon 33 cm (13’’) long
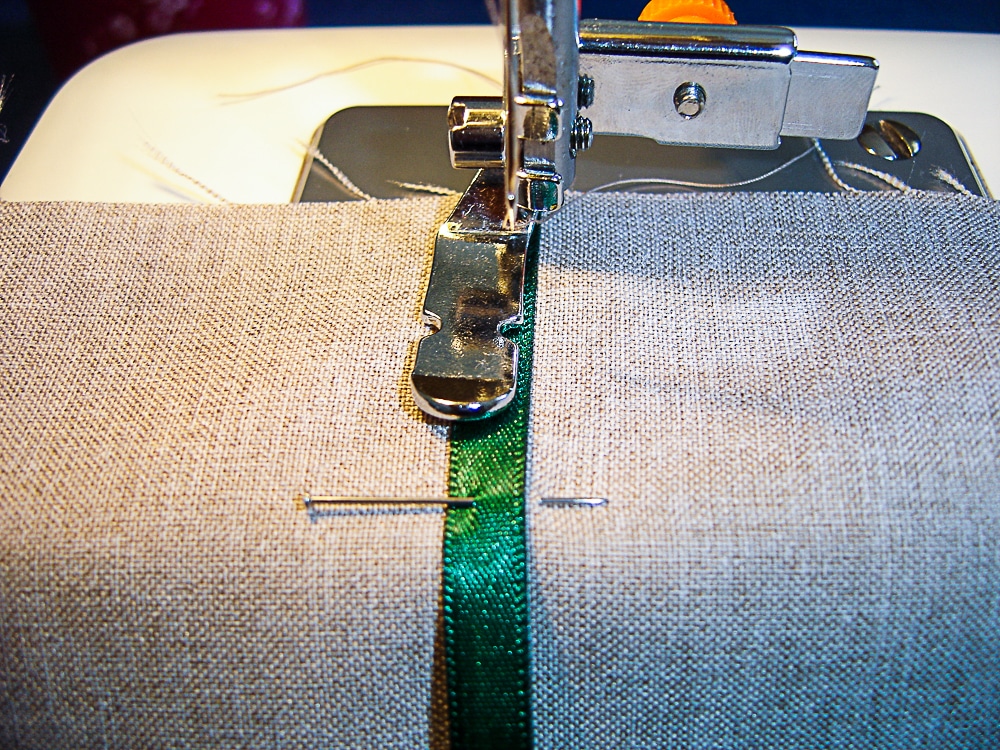
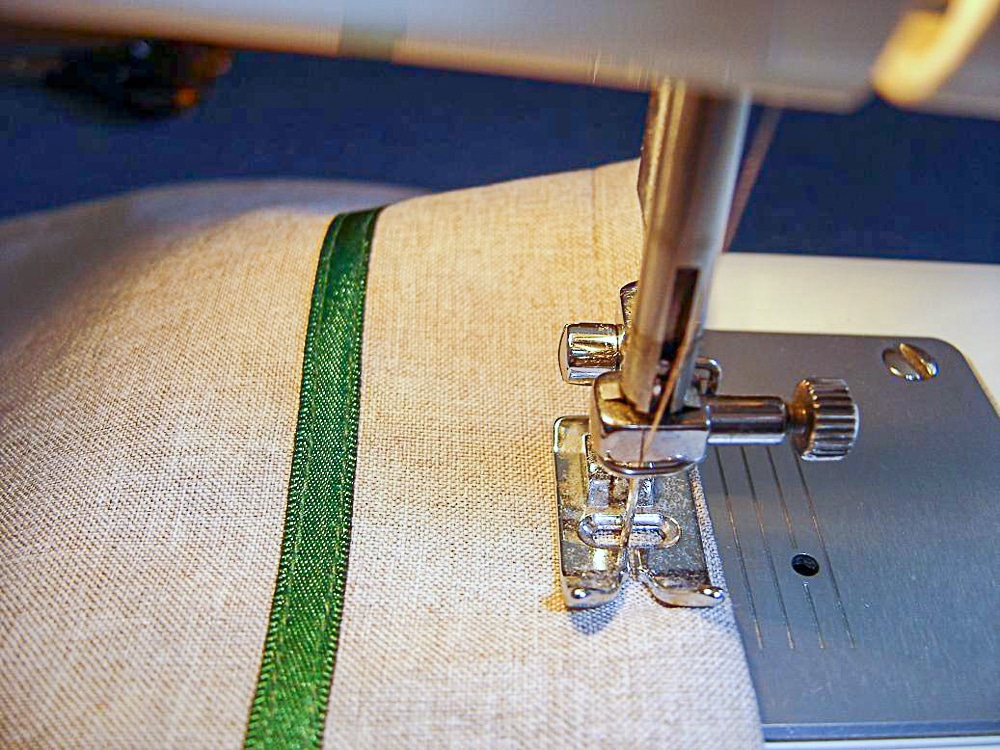
Step 1: Add the Ribbon (Optional)
Pin the ribbon approximately 6.5 cm (2 1/2’’) from the right edge. Using the zipper foot attachment on the sewing machine and matching thread, stitch the ribbon along each edge.
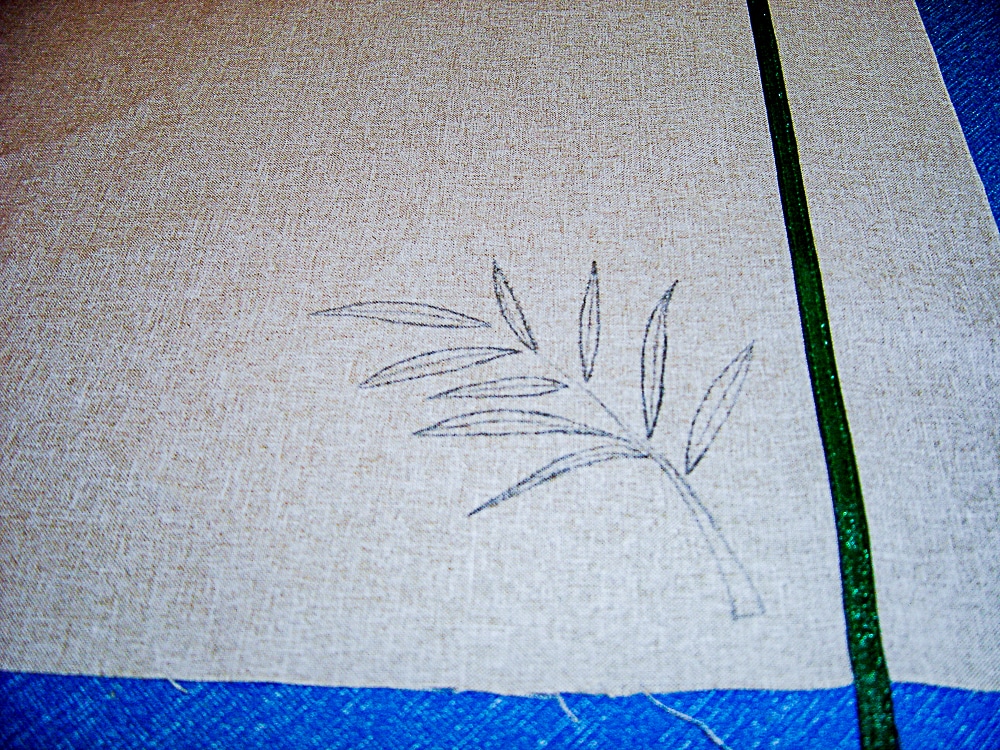
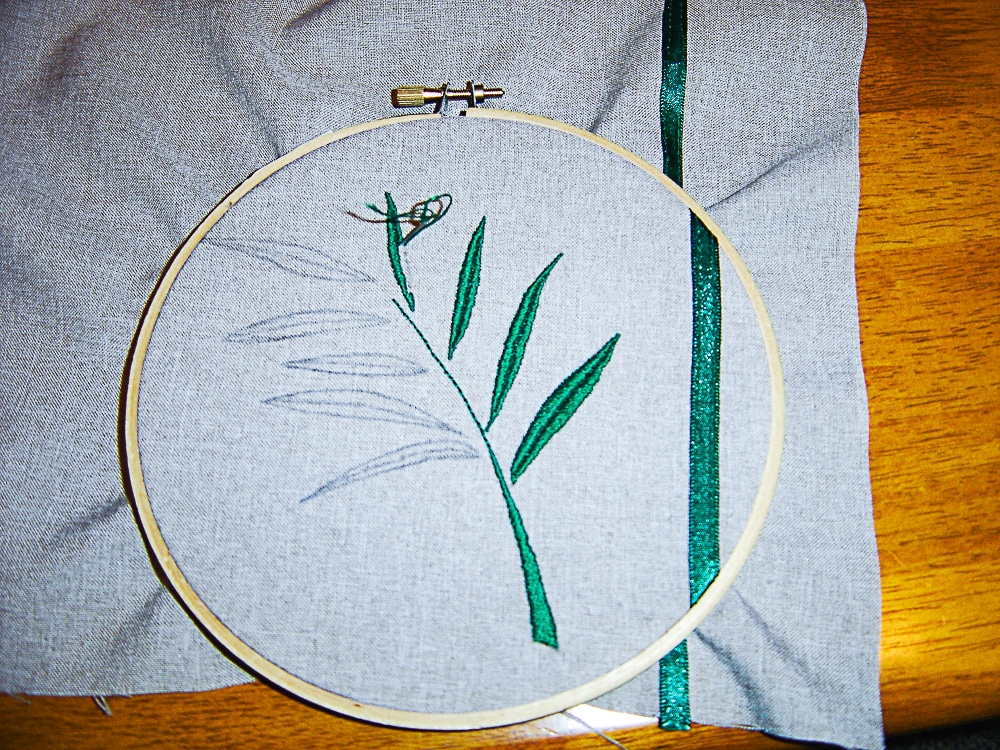
Step 2: Trace the Embroidery Design (Optional)
Using a lightbox and a fabric pen or lead pencil, trace the embroidery design onto each of the six pieces of fabric with the ribbon.
Step 3; Embroider the Design (Optional)
Use satin stitch to embroider your design. For thin stems, use backstitch.
This part of the project takes the longest. It's nice to stitch the design while watching TV or listening to your favourite podcast or an audiobook.
Step 4: Attach the back of the Placemat
Iron the embroidered piece of the placemat.
(If you’re using iron-on interfacing, iron it onto the back of the embroidered piece now).
Then pin the top, interfacing and bottom in the order pictured with the design facing inward.
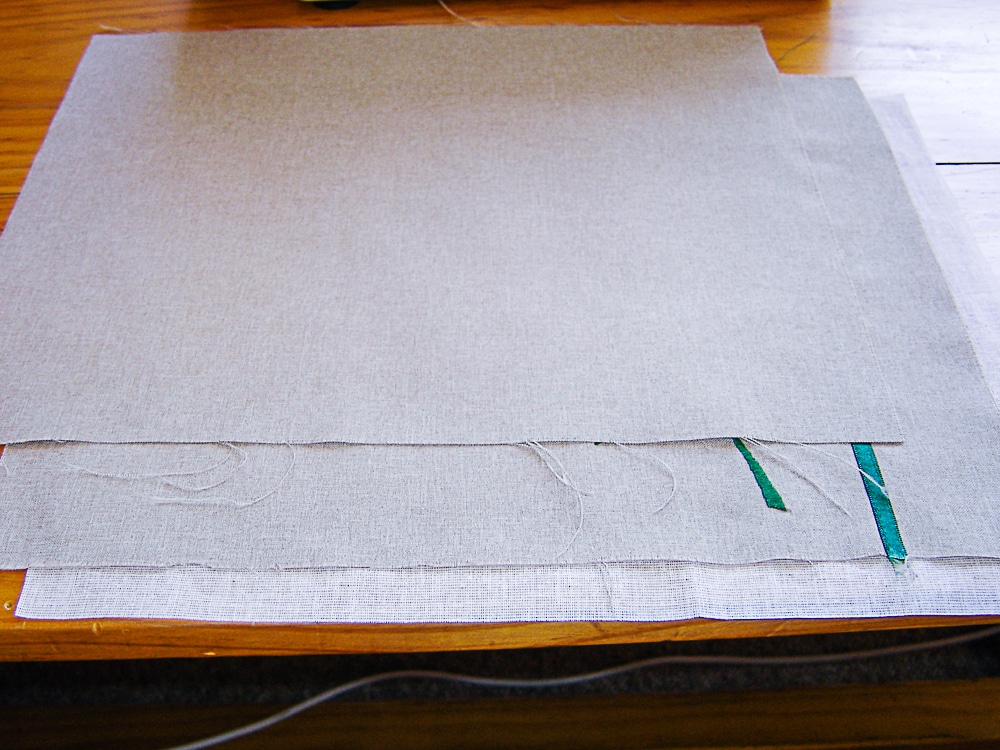
Sew a 1/4 inch seam around all four sides, leaving a gap at the bottom to turn out. Trim the corners.
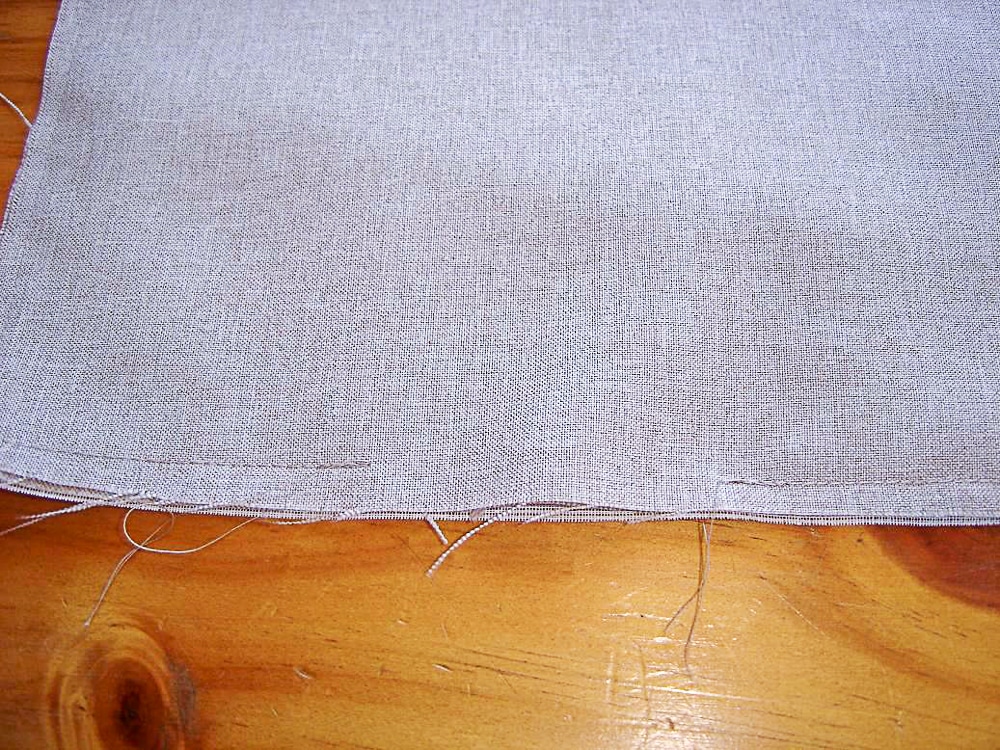
Step 5. Finish the Edges
Turn the placemat right side out and use an awl, chopstick or pencil to push out the corners, being careful not to poke a hole through the fabric.
Give the mat a good press.
Fold the opening closed and hand stitch together using very small stitches.
Topstitch around the mat 1/2 inch from the edge.
Press.


You did a wonderful job with these Melissa. I’m sure your Mum is very proud of them on her table.
Kaye
They are quite nice, how long did it take to make them?
Regards, Bob